Difference between revisions of "Model list"
BryanDerksen (Talk | contribs) (→Fereldan village exterior: gallerizing) |
BryanDerksen (Talk | contribs) (→"Hero" sets: gallerizing) |
||
| Line 751: | Line 751: | ||
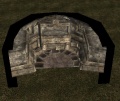
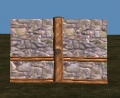
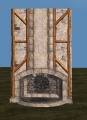
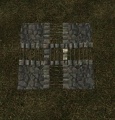
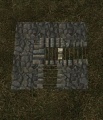
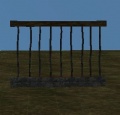
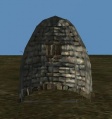
These tiles consist of models that were custom-made for certain situations in the main campaign. | These tiles consist of models that were custom-made for certain situations in the main campaign. | ||
| − | + | <gallery> | |
| − | + | File:Hro anvil la01.jpg | hro anvil la01 | |
| − | + | File:Hro anvil la02.jpg | hro anvil la02 | |
| − | + | File:Hro brknwll dirt 0.jpg | hro brknwll dirt 0 | |
| − | + | File:Hro brknwll snow 0.jpg | hro brknwll snow 0 | |
| + | File:Hro cave anvil.jpg | hro cave anvil | ||
| + | File:Hro cave brdrooml.jpg | hro cave brdrooml | ||
| + | File:Hro deadtrencha 0.jpg | hro deadtrencha 0 | ||
| + | File:Hro deadtrenchbr 0.jpg | hro deadtrenchbr 0 | ||
| + | File:Hro den city1 1.jpg | hro den city1 1 | ||
| + | File:Hro den city 1.jpg | hro den city 1 | ||
| + | File:Hro den fdrak vst 1.jpg | hro den fdrak vst 1 | ||
| + | File:Hro den fdrakdoor 0.jpg | hro den fdrakdoor 0 | ||
| + | File:Hro den fdrakeag 0.jpg | hro den fdrakeag 0 | ||
| + | File:Hro den fdrakmain 0.jpg | hro den fdrakmain 0 | ||
| + | File:Hro den fdraktower 0.jpg | hro den fdraktower 0 | ||
| + | File:Hro den fdrakyarddoor 0.jpg | hro den fdrakyarddoor 0 | ||
| + | File:Hro den fortdrakon 0.jpg | hro den fortdrakon 0 | ||
| + | File:Hro denfdrakonvtop 1.jpg | hro denfdrakonvtop 1 | ||
| + | File:Hro dni asmblycore01.jpg | hro dni asmblycore01 | ||
| + | File:Hro dni asmblysect01.jpg | hro dni asmblysect01 | ||
| + | File:Hro dni asmblysect02.jpg | hro dni asmblysect02 | ||
| + | File:Hro dni asmblysect04.jpg | hro dni asmblysect04 | ||
| + | File:Hro dni asmblytwr01.jpg | hro dni asmblytwr01 | ||
| + | File:Hro dni wr bdl 0.jpg | hro dni wr bdl 0 | ||
| + | File:Hro dni wr bdr 0.jpg | hro dni wr bdr 0 | ||
| + | File:Hro dni wr ce 0.jpg | hro dni wr ce 0 | ||
| + | File:Hro dni wr cn 0.jpg | hro dni wr cn 0 | ||
| + | File:Hro dni wr cnl 0.jpg | hro dni wr cnl 0 | ||
| + | File:Hro dni wr dl 0.jpg | hro dni wr dl 0 | ||
| + | File:Hro dni wr dr 0.jpg | hro dni wr dr 0 | ||
| + | File:Hro dni wr fl 0.jpg | hro dni wr fl 0 | ||
| + | File:Hro fci throne 0.jpg | hro fci throne 0 | ||
| + | File:Hro hrt000a 0.jpg | hro hrt000a 0 | ||
| + | File:Hro hrt000b 0.jpg | hro hrt000b 0 | ||
| + | File:Hro hrt000c 0.jpg | hro hrt000c 0 | ||
| + | File:Hro lak100water 0.jpg | hro lak100water 0 | ||
| + | File:Hro lava04 0.jpg | hro lava04 0 | ||
| + | File:Hro lava05 0.jpg | hro lava05 0 | ||
| + | File:Hro lava06 0.jpg | hro lava06 0 | ||
| + | File:Hro lava07 0.jpg | hro lava07 0 | ||
| + | File:Hro lava08 0.jpg | hro lava08 0 | ||
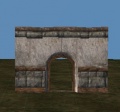
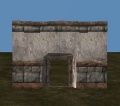
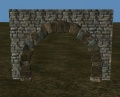
| + | File:Hro partypkr arch.jpg | hro partypkr arch | ||
| + | File:Hro partypkr floor.jpg | hro partypkr floor | ||
| + | File:Hro taiglava 01.jpg | hro taiglava 01 | ||
| + | File:Hro taiglava 02.jpg | hro taiglava 02 | ||
| + | File:Hro taiglava 03.jpg | hro taiglava 03 | ||
| + | File:Hro taiglava 04.jpg | hro taiglava 04 | ||
| + | File:Hro taigwater 01.jpg | hro taigwater 01 | ||
| + | File:Hro taigwater 02.jpg | hro taigwater 02 | ||
| + | File:Hro tci webwall 0.jpg | hro tci webwall 0 | ||
| + | File:Hro treewalla 0.jpg | hro treewalla 0 | ||
| + | File:Hro treewallb 0.jpg | hro treewallb 0 | ||
| + | File:Hro tvi domepit 0.jpg | hro tvi domepit 0 | ||
| + | File:Hro tvi webroof 0.jpg | hro tvi webroof 0 | ||
| + | </gallery> | ||
== Tevinter castle exterior == | == Tevinter castle exterior == | ||
Revision as of 00:04, 1 October 2009
| Level editor topics |
|---|
|
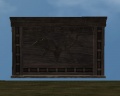
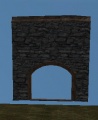
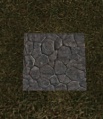
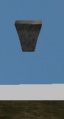
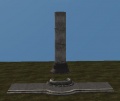
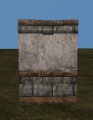
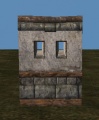
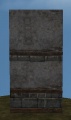
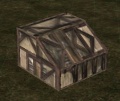
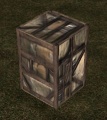
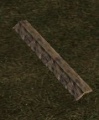
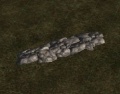
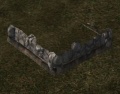
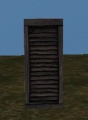
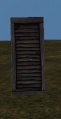
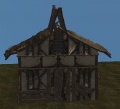
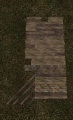
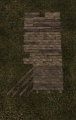
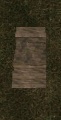
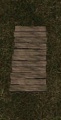
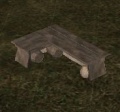
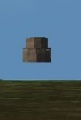
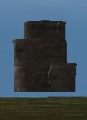
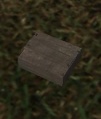
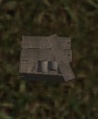
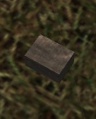
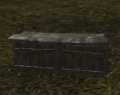
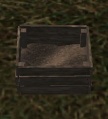
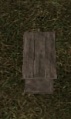
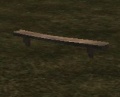
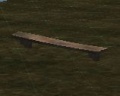
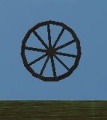
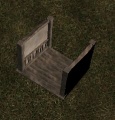
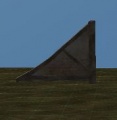
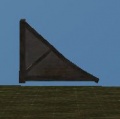
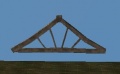
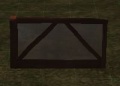
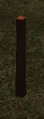
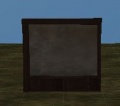
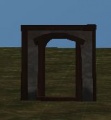
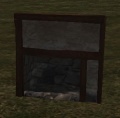
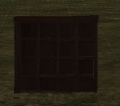
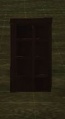
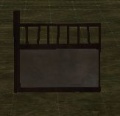
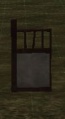
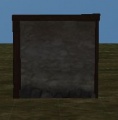
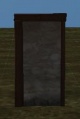
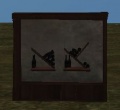
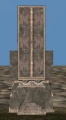
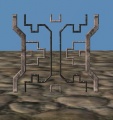
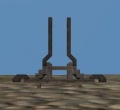
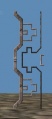
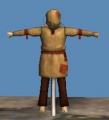
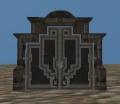
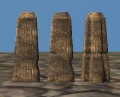
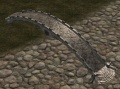
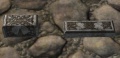
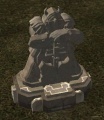
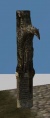
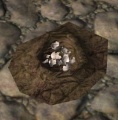
The idea behind showing these models is to give the player a quick view of the actual model that corresponds with a model file name. Most of the files have meaningful names however the builder will still find that he/she has to place the model in the level to see what it looks like. These will allow the builder to quickly view model images and thus save them time in level building.
Contents
- 1 Naming conventions
- 2 Black boxes
- 3 Cave
- 4 Cave Deep Road
- 5 Chantry exterior
- 6 Chantry interior
- 7 Dwarf slum exterior
- 8 Dwarf slum interior
- 9 Fereldan castle
- 10 Fereldan dungeon interior
- 11 Fereldan human exterior
- 12 Fereldan human interior
- 13 Fereldan town interior
- 14 Fereldan village exterior
- 15 "Hero" sets
- 16 Tevinter castle exterior
- 17 Tevinter castle interior
- 18 Tevinter Fade interior
- 19 Tevinter tower interior
- 20 Tevinter exterior
- 21 Tevinter interior
- 22 Tevinter road
- 23 Vista objects
- 24 Environmental Props
- 25 Banners,Flags,Standards,Signs,Tapestry,Wall Hangings,Rugs,Carpets
Naming conventions
The base folders and their meanings are:
- base
- blk - black boxes of various sizes and proportions, used to obscure the portions of models that lie "outside" an interior level where the player shouldn't be able to see.
- c - creature
- cai - Cave Int.
- cav
- cdr
- che
- chi
- cn - Commmon Body Meshes
- cs
- df - dwarf female accessories and components
- dm - dwarf male accessories and components
- dne - dwarf noble exterior level pieces
- dni - dwarf noble interior level pieces
- dse - dwarf slum exterior level pieces
- dsi - dwarf slum interior level pieces
- dwe - Dwarven Ext. (Orzammar City)
- dwi - Dwarven Interior
- ef - elf female accessories and components
- el
- em - elf male accessories and components
- fca
- fce - Ferelden Castle/City Ext.
- fci - Ferelden Castle Int.
- fde
- fdi
- fhe
- fhec
- fhi - Ferelden human interior level pieces
- fne - Ferelden noble exterior level pieces
- frt
- fti
- ftr
- fve
- fx
- fxa
- fxc
- fxe
- fxg
- fxm
- fxp
- hf - human female accessories and components
- hm - human male accessories and components
- hro
- kn
- lightrig
- material
- nm
- plc - placeables
- prp - props
- prv
- qm
- sb - Skybox
- sca
- sr
- tce - Tevinter Castle Ext.
- tci - Tevinter Castle Int.
- tfi
- tools - models used by the toolset
- trn
- tti
- tve
- tvi
- tvm
- ue
- uem - Face Bits
- uh - Face Bits
- uhm - Face Bits
- ul
- ulm
- v
- vfx
- vis - vista objects
- vst - vista objects
- w - weapon models
- water - waterfall pieces
- zz - models used in debugging
Since the model names are often inscrutable you will likely wish to make use of the scratch space in the level editor by bringing out all of the models from a particular group of interest and copying and pasting those you wish to use from there.
- Black models are used to surround indoor areas so that players can see inside the walls when the camera is outside them.
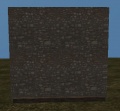
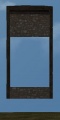
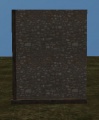
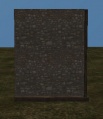
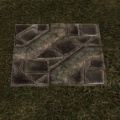
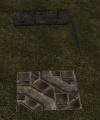
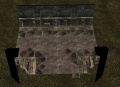
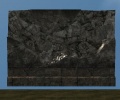
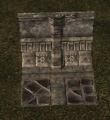
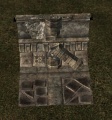
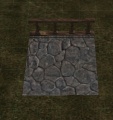
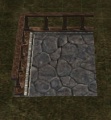
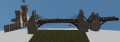
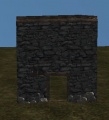
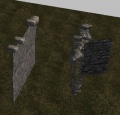
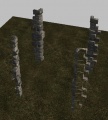
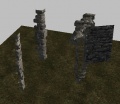
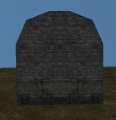
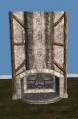
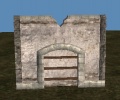
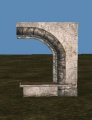
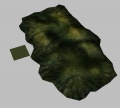
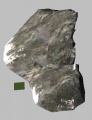
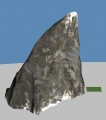
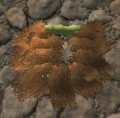
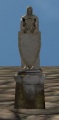
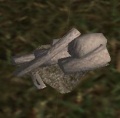
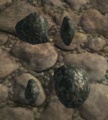
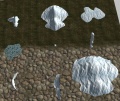
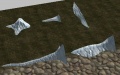
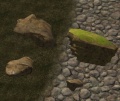
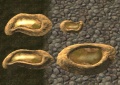
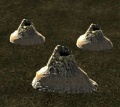
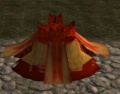
- All screen shots are taken with a level of 64 x 64 size (smallest size possible). This allows you to see a relative scale of the model. Most are placed within the level area but some are much larger than the area.
- Many of these images are not exactly to scale, the idea is to see what the image looks like rather than to see the exact size to scale.
- Some model images such as ceilings and roofs will be taken from underneath looking into the sky.
- Some model images look the same but are of different size.
- Some models extend below the grounds surface when placed.
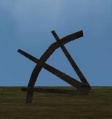
- The models in this sheet are architectural and environmental. Models that are props, placeables, fx, body parts etc can all be viewed in other areas of the toolset.
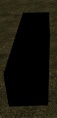
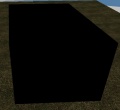
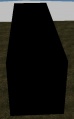
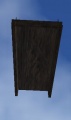
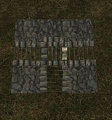
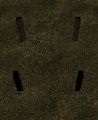
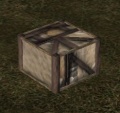
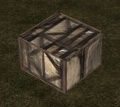
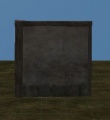
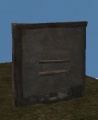
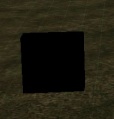
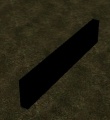
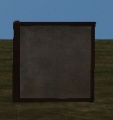
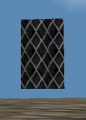
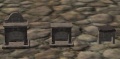
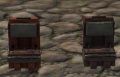
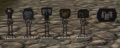
Black boxes
Blk 01 0
Blk 02 0
Blk 03 0
Blk 04 0
Blk 05 0
Blk 06 0
Blk 07 0

Blk 08 0


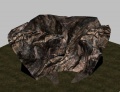
Cave
cai lrgcrna 0
cai lrgcrnb 0
cai lrgdoor02 0
cai lrgdoor03 0

cai lrgdoor 0

cai lrgfloorb 0
cai lrgroofa 0
cai lrgroofb 0
cai lrgwalla 0
cai lrgwallaweb2 0
cai lrgwallaweb 0
cai lrgwallb 0
cai pillara 0
cai pillaraweb 0
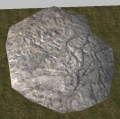
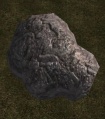
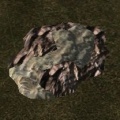
cai rock01 0
cai totci01 0
cai tuncurve02 0
cai tuncurve03 0
cai tunmed01 0
cai tunn401 0
cai tunnend02 0
cai tunnstrt01 0
cai tunnstrt02 0
cai tunnstrt03 0
cai tunnstrt04 0
cai tunnt01 0
cai tunslope01 0


cav bridge
cav brkhallb 0
cav brknwall c 0
cav caiboulder01 0
cav caiboulder02 0
cav caiboulder03 0
cav caiplatform01 0
cav caiplatform02 0
cav caiplatform03 0
cav caiplatform04 0
cav caiwall01 0
cav caiwall02 0
cav caiwall03 0
cav caiwall04 0
cav caiwall05 0
cav caiwall06 0
cav caverocks01 0
cav caverocks02 0
cav caverocks03 0
cav caverocks04 0
cav cliffa
cav cliffb
cav cliffc
cav cliffe
cav cliffh
cav cliffk
cav dwhole01
cav floor01
cav floor02

cav floor03
cav floor04
cav hallplug01
cav lrgcrna
cav lrgcrnb
cav lrgdoor
cav lrgdoor02
cav lrgdoor03
cav lrgfloor
cav lrgwalla
cav pillar
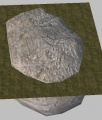
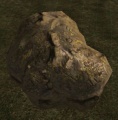
cav rock01
cav rockfloor01 0
cav rockfloor02 0
cav rockfloor03 0
cav rockwall01 0

cav rockwall02 0
cav rockwall03 0
cav rockwall08 0
cav rockwall09 0
cav rockwall10 0
cav roof
cav stalactite01 0
cav stalactite02 0
cav stalactite04 0
cav stalactite05 0
cav stalagmite01 0
cav stalagmite05 0
cav stalagmite06 0
cav stalagpillar05 0
cav todwi
cav tuncurve01
cav tuncurve02
cav tunend
cav tunend02
cav tunfour

cav tunslope01
cav tunslope02
cav tunslope03
cav tunstr01
cav tunstr02
cav tuntee
cav tunwhite
cav wallhole c 0


Cave Deep Road
cdr dwi deepr brkn 0

cdr dwi deepr cave1 0
cdr dwi deepr cave2 0
cdr dwi deepr cent 0
cdr dwi deepr cntr 0
cdr dwi deepr crn 0
cdr dwi deepr door 0
dr dwi deepr exit 0
dr dwi deepr guls 0
dr dwi deepr tsec 0


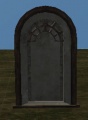
Chantry exterior
che chapllar01 0
che chapllar02 0
che largebase 0
che largeglass 0
che largetop 0
che smallbase 0
che smallglass 0
che smalltop 0


Chantry interior
Chi chaarch
Chi chaarch01

Chi chaarea 0
Chi chaarea 1

Chi chaarea 2
Chi chaarea 3
Chi chaceiling01
Chi chaceiling02
Chi chadesign01
Chi chadesign01a
Chi chadesign02
Chi chadesign03
Chi chadesign04
Chi chafloor01
Chi chafloor03
Chi chapillar01
Chi chapillar03
Chi chapillar04

Chi chapltfrm
Chi chapltfrm 0
Chi chascafold
Chi chascafold02
Chi chasun
Chi chawall01
Chi chawall01a
Chi chawall02
Chi chawall02a
Chi chawall03
Chi chawall03a
Chi chawall04
Chi chawall06
Chi chawall07
Chi chawall08
Chi chawall08a
Chi chawall09
Chi chawall10
Chi chawall11
Chi chawin01
Chi chawindow
Chi smblkwalla


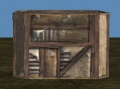
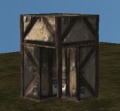
Dwarf slum exterior
Dse home01 0
Dse home02 0
Dse home03 0
Dse home04 0
Dse home05 0
Dse home06 0
Dse home07 0
Dse home08 0
Dse pillar01 0
Dse pillar02 0


Dwarf slum interior
dsi dtroom cnri01
dsi dtroom cnro01
dsi dtroom door01
dsi dtroom door02
dsi dtroom flor01
dsi dtroom halel02
dsi dtroom haler02
dsi dtroom strt01
dsi slumroof 01
dsi slumroof 02
dsi slumroom cnri01
dsi slumroom cnro01
dsi slumroom door01
dsi slumroom door02
dsi slumroom flor01
dsi slumroom flor02
dsi slumroom hal301

dsi slumroom hal401
dsi slumroom halb01
dsi slumroom hale01
dsi slumroom halel01
dsi slumroom halel02
dsi slumroom haler01
dsi slumroom haler02

dsi slumroom halr 0
dsi slumroom hals01
dsi slumroom stair01
dsi slumroom stair02
dsi slumroom stair03
dsi slumroom stair04
dsi slumroom strt01
dsi slumroom strt02
dsi slumroom tomb01


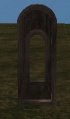
Fereldan castle
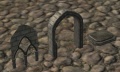
Fca arch01 0
Fca arch02 0
Fca arch03 0
Fca archfade01 0
Fca archfade02 0
Fca balcony01 0
Fca balcony02 0
Fca balcony03 0
Fca balcony04 0
Fca c redbridge 0
Fca c redbridge 1
Fca c redcastle 1
Fca ceiling01 0
Fca ceiling02 0
Fca ceiling03 0
Fca ceiling04 0
Fca ceiling05 0
Fca chimney 0
Fca corr01 0
Fca corr02 0
Fca corr03 0
Fca corr04 0
Fca corr05 0
Fca corr06 0
Fca corr07 0
Fca corr08 0
Fca corrdr01 0
Fca corrdr02 0
Fca corrtop01 0
Fca corrtop02 0
Fca corrtop03 0
Fca corrtop04 0
Fca corrtop05 0
Fca corrtop06 0
Fca corrtop07 0

Fca corrtop08 0
Fca corrtop09 0
Fca corrtop10 0
Fca corrtop11 0
Fca corrtop12 0
Fca corrwall01 0
Fca corrwall02 0
Fca corrwall03 0
Fca corrwall04 0
Fca door01 0
Fca door02 0
Fca door03 0
Fca door04 0
Fca door05 0
Fca floor01 0

Fca floor02 0
Fca keystone01 0
Fca lrgwall01 0
Fca lrgwall02 0
Fca lrgwall03 0
Fca lrgwall04 0
Fca lrgwall05 0
Fca lrgwall06 0
Fca lrgwall07 0
Fca lrgwall08 0
Fca outwall01 0
Fca outwall02 0
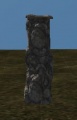
Fca pillar01 0
Fca pillar02 0
Fca pillar03 0
Fca pillar04 0
Fca pillar05 0
Fca pillar06 0
Fca stand 0
Fca tower01 0
Fca wall01 0
Fca wall02 0
Fca wall03 0
Fca wall04 0
Fca wallplug01 0
Fca wallplug02 0

Fca wallplug03 0
Fca wallplug04 0
Fca wallplug05 0
Fca wdbeam01 0
Fca wdbeam02 0
Fca wdbeam03 0


Fce estwall 05 0
Fce estwall 05 1
Fce pubsgn01 0


fci archf 01
fci bwall 02
fci bwall 05
fci castarch 01

fci castarch 02
fci castarch 05
fci castctop door01
fci ceila 05
fci ceila 14
fci ceila 15
fci ceila 16
fci ceila 24
fci ceila 34
fci floor 01
fci floor 04
fci part 02
fci part 06
fci part 08
fci pil 01
fci pil 05
fci roof 02
fci roof 04
fci roof 06
fci rubble 01
fci rubble 02
fci tower 01
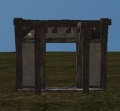
fci wall 01
fci wall 02
fci wall 04
fci wall 05
fci wall 07
fci wall 10
fci wall 12
fci wall 14
fci wall 15

fci wall 16
fci wall 24
fci wall 30
fci wall 34


frt main 0

frt main plc 0
frt main rest 0
frt main wall 0


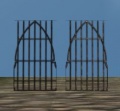
Fereldan dungeon interior
fdi dun3wy 0
fdi dun4pillars 0
fdi dun4wy 0
fdi dun90deg 0
fdi dunbars 0
fdi duncell 0
fdi duncorn 01 0
fdi dundoor 01 0
fdi dundoor 02 0
fdi dunend 0
fdi dunfloor01 0
fdi dungate 0

fdi dunnarr 01 0
fdi dunnarr 02 0

fdi dunrock01 0
fdi dunrock02 0
fdi dunrock03 0
fdi dunrock04 0
fdi dunroof01 0
fdi dunroof02 0
fdi dunstair01 0
fdi dunstair02 0
fdi dunstrait 0
fdi dunwall01 0
fdi dunwall02 0


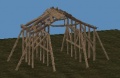
Fereldan human exterior
fhe balccrna 0
fhe balccrnb 0
fhe balcmid 0
fhe barnscaffa 0
fhe barnscaffb 0

fhe bridgebase 0
fhe bridgestn 0
fhe canopy01 0
fhe canopy02 0
fhe cantlvr 0
fhe chandrs 0
fhe chim 0
fhe coop 0
fhe cotta 0
fhe cottb 0
fhe cottc 0
fhe cottd 0
fhe cotte 0
fhe decfull 0
fhe dechlf 0
fhe doorfrs 0
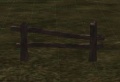
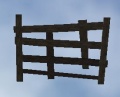
fhe fence01 0
fhe midbev 0
fhe midins 0
fhe midrnd 0
fhe midslant 0
fhe midsm 0
fhe midsq 0
fhe midtall 0
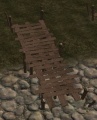
fhe rampplank 0
fhe rivrbnk 0
fhe rockb2 0
fhe roofcrn 0
fhe roofcrnsm 0
fhe roofcrntht 0
fhe roofpl 0
fhe roofplpk 0
fhe roofthtpk 0
fhe roofwin 0
fhe rubble 0
fhe scaff 0
fhe shuta 0
fhe shutb 0
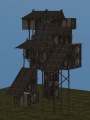
fhe slum01 0
fhe slum02 0
fhe slum04 0
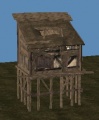
fhe slum05 0
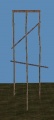
fhe stiltl 0
fhe stiltm 0
fhe stiltn 0
fhe stilts 0
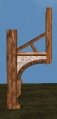
fhe truss 0
fhe walkl02 0
fhe walkl 0
fhe walkm02 0
fhe walkm 0
fhe wall01 0
fhe wall02 0
fhe wall03 0
fhe walljoint 0
fhe winl 0
fhe wins 0
fhe wtrwhl 0


fhec bgcliffa 0
fhec bgcliffb 0
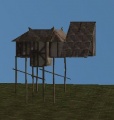
fhec bgcliffc 0
fhec redmill02 0
fhec redmill 0
fhec redvilla 0
fhec redvillb 0

fhec redvillc 0
fhec redvilld 0
fhec redville 0
fhec redvillf 0
fhec redvillk 0
fhec redvilll 0
fhec redvillm 0
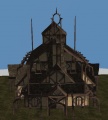
fhec tavernbody 0
fhec tavernroof1 0
fhec tavernroof2 0
fhec tavernroof3 0
fhec tavernsup 0
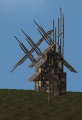
fhec windmillbody 0
fhec windmilldoor 0
fhec windmilltop 0

fhec windmillwhl 0


Fereldan human interior
fhi ceiling2 0
fhi ceiling 0

fhi ceilingangle 0

fhi floorstone1x3a 0
fhi floorstone1x3b 0
fhi floorstone3x3 0

fhi floorstone 0
fhi floorstoneedge 0
fhi floorstonestrip 0
fhi floorwood1x3 0
fhi floorwood3x3 0
fhi floorwood 0
fhi floorwoodstrip 0
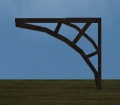
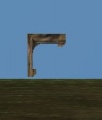
fhi pillarbracket 0
fhi pillarstone 0
fhi pillarwood2 0
fhi pillarwood3 0
fhi pillarwood 0
fhi prp barleft 0
fhi prp barright 0
fhi prp bendbox 0
fhi prp bendboxlg 0
fhi prp box 0
fhi prp boxcandles 0
fhi prp boxsm 0
fhi prp cabinet 0

fhi prp cratelid 0
fhi prp crateopen 0
fhi prp mid 0
fhi prp shelfwall l 0
fhi prp shelfwall m 0
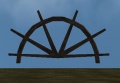
fhi prp wheel 0

fhi stairswood 0
fhi stiarsdown 0

fhi upper 0
fhi upperanglel 0
fhi upperangler 0
fhi upperbeam 0
fhi upperhalf 0
fhi upperpillar 0
fhi upperpillarwd 0
fhi wallarchway 0
fhi wallbasict 0
fhi wallcornerin 0
fhi wallcornerout 0
fhi wallcrackl 0
fhi wallcrackr 0
fhi walldoor 0
fhi wallfireplace 0
fhi wallhalf 0
fhi wallinset 0
fhi wallpillar 0
fhi wallrailhalf 0
fhi wallrailing 0
fhi wallshelf 0
fhi wallshort 0
fhi wallstone 0
fhi walluppershort 0
fhi wallwindow 0


Fereldan town interior
fti balckbox 0
fti balckboxlong 0
fti ceilingangle 0
fti ceilingangles 0
fti ceilingpanles 0
fti ceilingrustic25 0
fti ceilingrustic 0
fti cwind up curve 0
fti cwind up flat 0
fti cwindmilldoor 0
fti cwindmillfloor 0
fti cwindmillfw 0
fti cwindmillfwall 0

fti door 0
fti doorrustic 0
fti fireplace a 0

fti fireplace b 0
fti floorstone 0
fti floorstonestrip 0
fti floortrim 0
fti floorwood2 0
fti floorwood3 0
fti floorwood 0
fti floorwoodsmall2 0
fti floorwoodsmall3 0
fti floorwoodsmall 0
fti pillarpanels 0
fti pillarstone 0
fti prp barl 0
fti prp barmid 0
fti prp barr 0
fti prp barrusticm 0
fti stairswood 0
fti upper 0
fti upperanglel 0
fti upperangler 0
fti upperbeam 0
fti upperboarda 0
fti upperboardb 0
fti upperboardc 0
fti upperplain 0
fti uppershort 0
fti upperwoodbeam 0
fti wall 0
fti wallarchrustic 0
fti wallbarrel 0
fti wallcapa 0
fti wallcapb 0
fti wallhalf 0
fti wallinset 0
fti wallpanels 0
fti wallpanelshalf 0
fti wallrailing 0
fti wallrailinghalf 0
fti wallrustic 0
fti wallrustichalf 0
fti wallshelfa 0
fti wallshelfb 0
fti wallstone 0
fti wallstonehalf 0
fti wallwinrustic 0


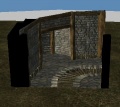
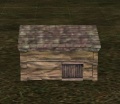
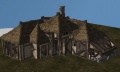
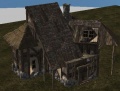
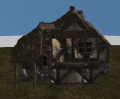
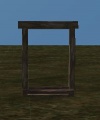
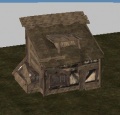
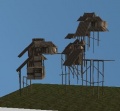
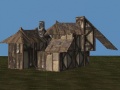
Fereldan village exterior
fve roofcrn 0
fve scaff 0
ve stiltm 0
fve stiltn 0
fve stilts 0
fve tavchim 0
fve windmill 0


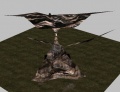
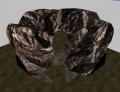
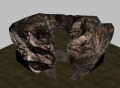
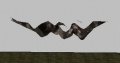
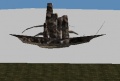
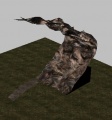
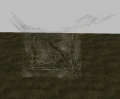
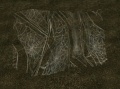
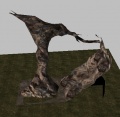
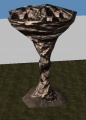
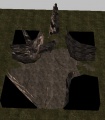
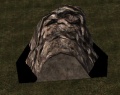
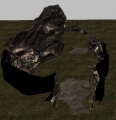
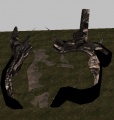
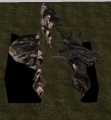
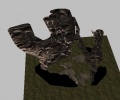
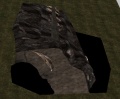
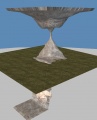
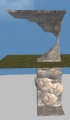
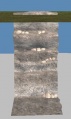
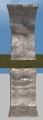
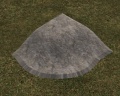
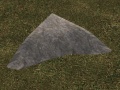
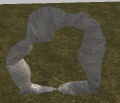
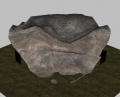
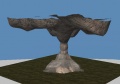
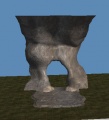
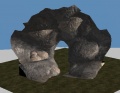
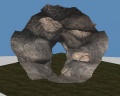
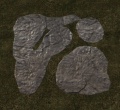
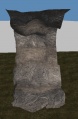
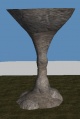
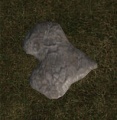
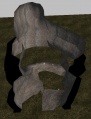
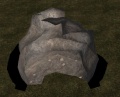
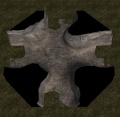
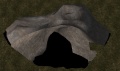
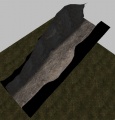
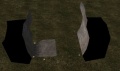
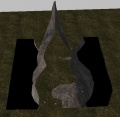
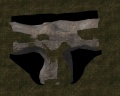
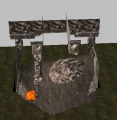
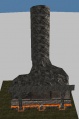
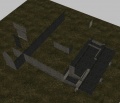
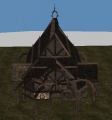
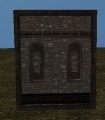
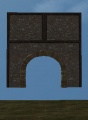
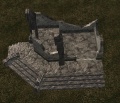
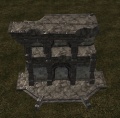
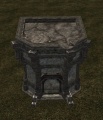
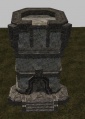
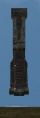
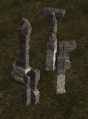
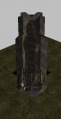
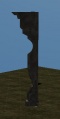
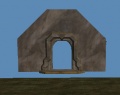
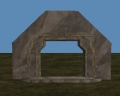
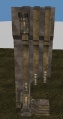
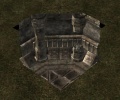
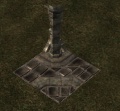
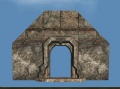
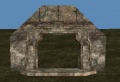
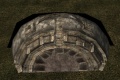
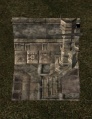
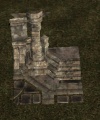
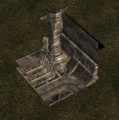
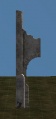
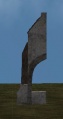
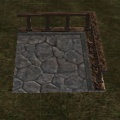
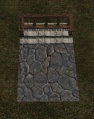
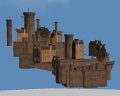
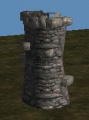
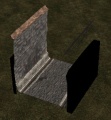
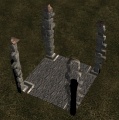
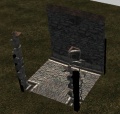
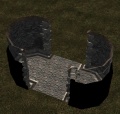
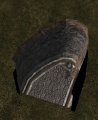
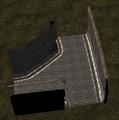
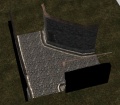
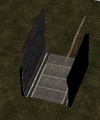
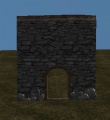
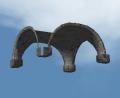
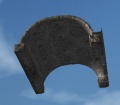
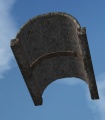
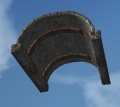
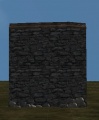
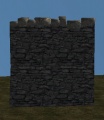
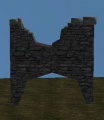
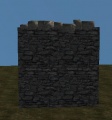
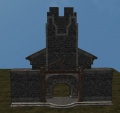
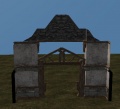
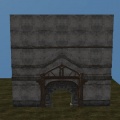
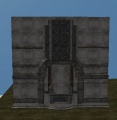
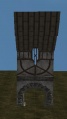
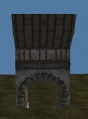
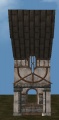
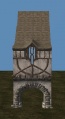
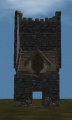
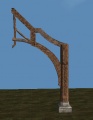
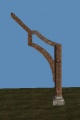
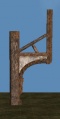
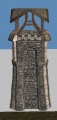
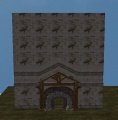
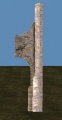
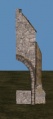
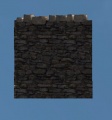
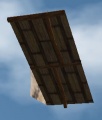
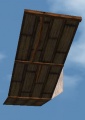
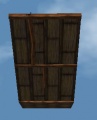
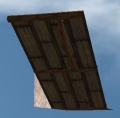
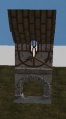
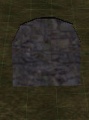
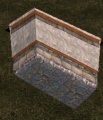
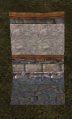
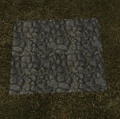
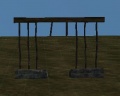
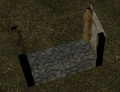
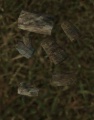
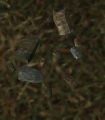
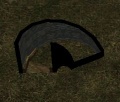
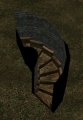
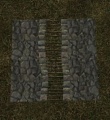
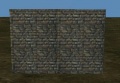
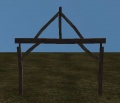
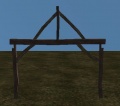
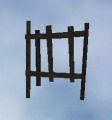
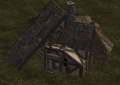
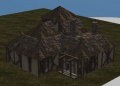
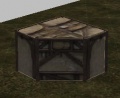
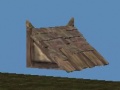
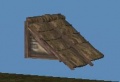
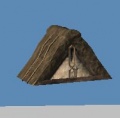
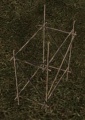
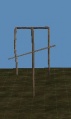
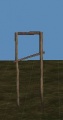
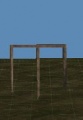
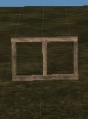
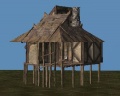
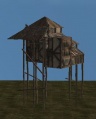
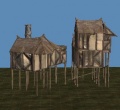
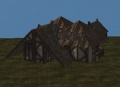
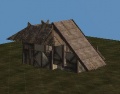
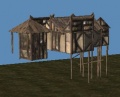
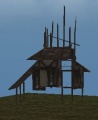
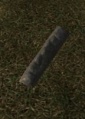
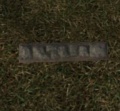
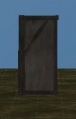
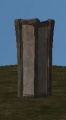
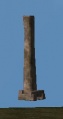
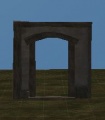
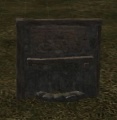
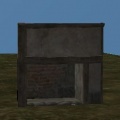
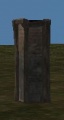
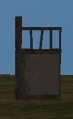
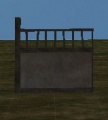
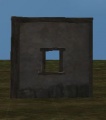
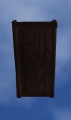
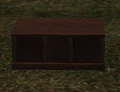
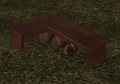
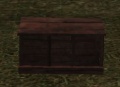
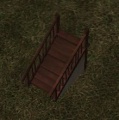
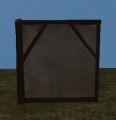
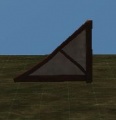
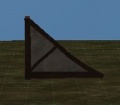
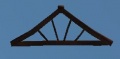
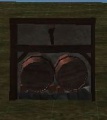
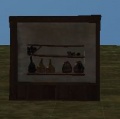
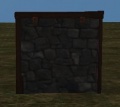
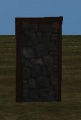
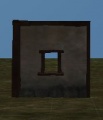
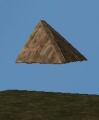
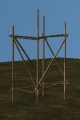
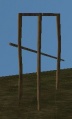
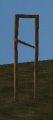
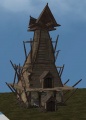
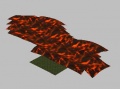
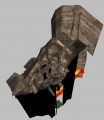
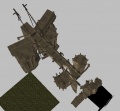
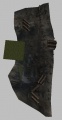
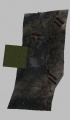
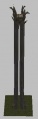
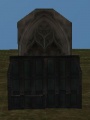
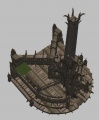
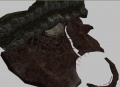
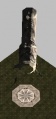
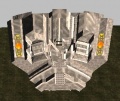
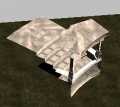
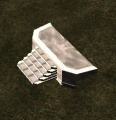
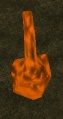
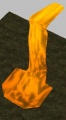
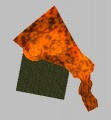
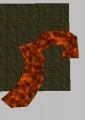
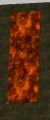
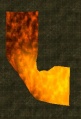
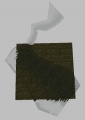
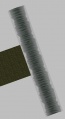
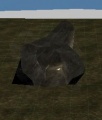
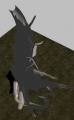
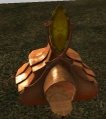
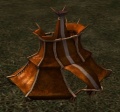
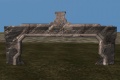
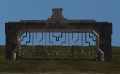
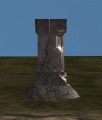
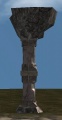
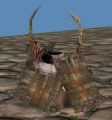
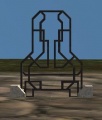
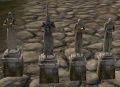
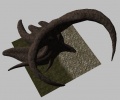
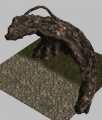
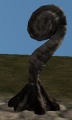
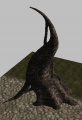
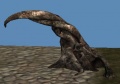
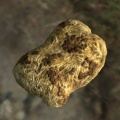
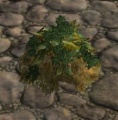
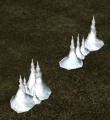
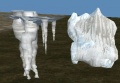
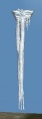
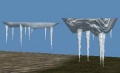
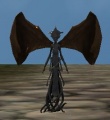
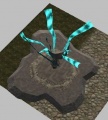
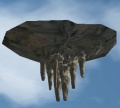
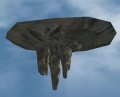
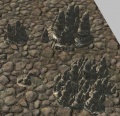
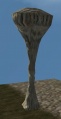
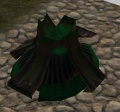
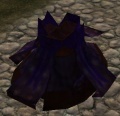
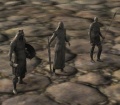
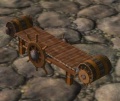
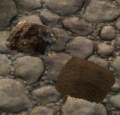
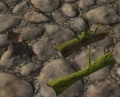
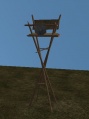
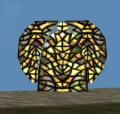
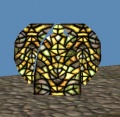
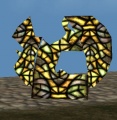
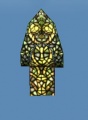
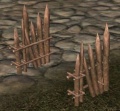
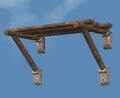
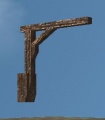
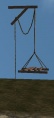
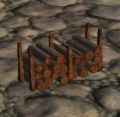
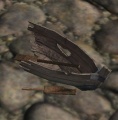
"Hero" sets
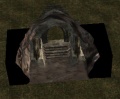
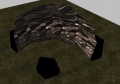
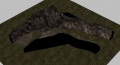
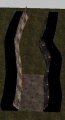
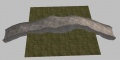
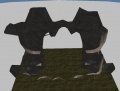
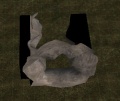
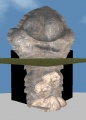
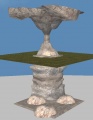
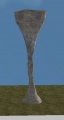
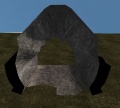
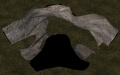
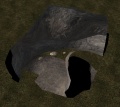
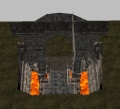
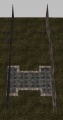
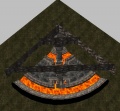
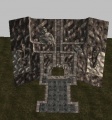
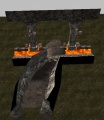
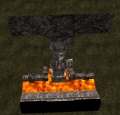
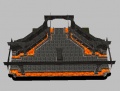
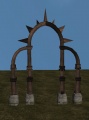
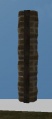
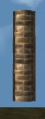
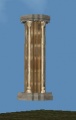
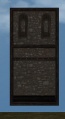
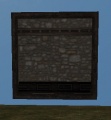
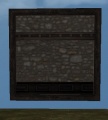
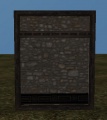
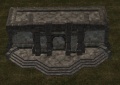
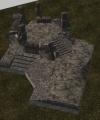
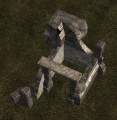
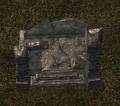
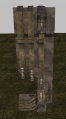
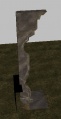
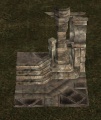
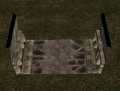
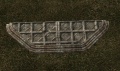
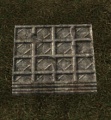
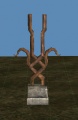
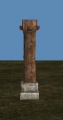
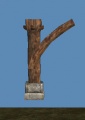
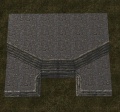
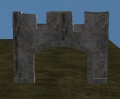
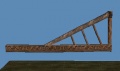
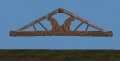
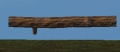
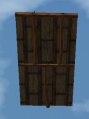
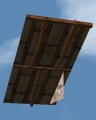
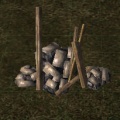
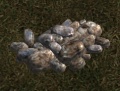
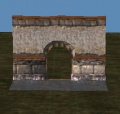
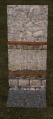
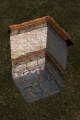
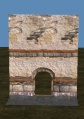
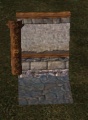
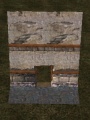
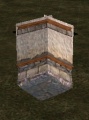
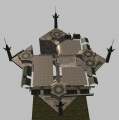
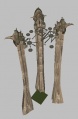
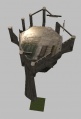
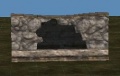
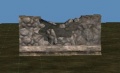
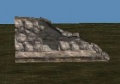
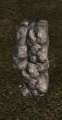
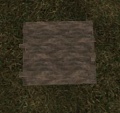
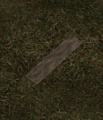
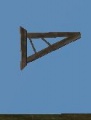
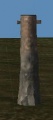
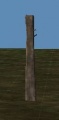
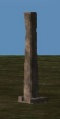
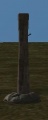
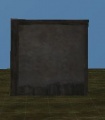
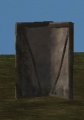
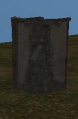
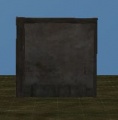
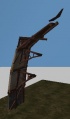
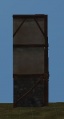
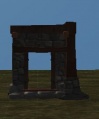
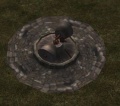
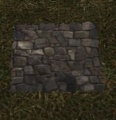
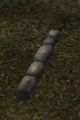
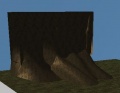
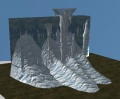
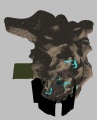
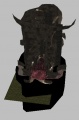
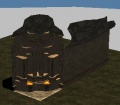
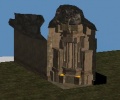
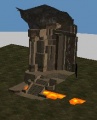
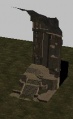
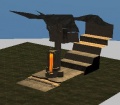
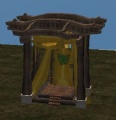
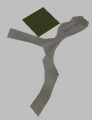
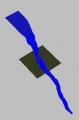
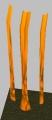
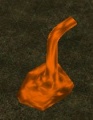
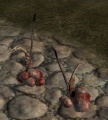
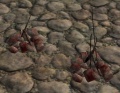
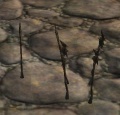
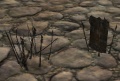
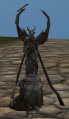
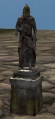
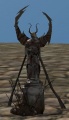
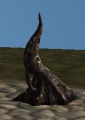
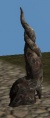
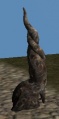
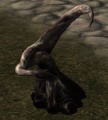
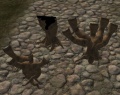
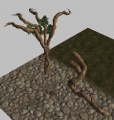
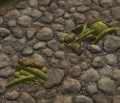
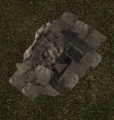
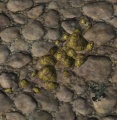
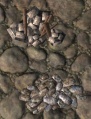
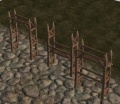
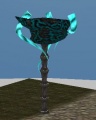
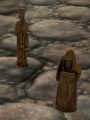
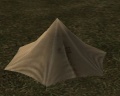
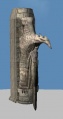
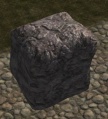
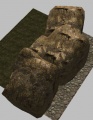
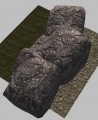
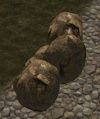
These tiles consist of models that were custom-made for certain situations in the main campaign.

hro anvil la01
hro anvil la02
hro brknwll dirt 0
hro brknwll snow 0
hro cave anvil
hro cave brdrooml
hro deadtrencha 0
hro deadtrenchbr 0
hro den city1 1
hro den city 1
hro den fdrak vst 1
hro den fdrakdoor 0
hro den fdrakeag 0
hro den fdrakmain 0
hro den fdraktower 0
hro den fdrakyarddoor 0
hro den fortdrakon 0
hro denfdrakonvtop 1
hro dni asmblycore01
hro dni asmblysect01
hro dni asmblysect02
hro dni asmblysect04
hro dni asmblytwr01
hro dni wr bdl 0
hro dni wr bdr 0
hro dni wr ce 0
hro dni wr cn 0
hro dni wr cnl 0
hro dni wr dl 0
hro dni wr dr 0
hro dni wr fl 0
hro fci throne 0
hro hrt000a 0
hro hrt000b 0
hro hrt000c 0
hro lak100water 0
hro lava04 0

hro lava05 0
hro lava06 0
hro lava07 0
hro lava08 0
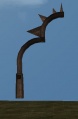
hro partypkr arch
hro partypkr floor
hro taiglava 01
hro taiglava 02
hro taiglava 03
hro taiglava 04
hro taigwater 01
hro taigwater 02
hro tci webwall 0
hro treewalla 0
hro treewallb 0

hro tvi domepit 0
hro tvi webroof 0


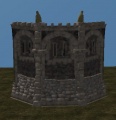
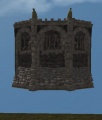
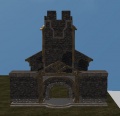
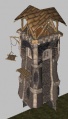
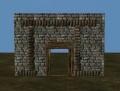
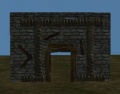
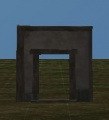
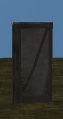
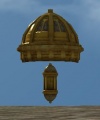
Tevinter castle exterior

Tevinter castle interior


Tevinter Fade interior


Tevinter tower interior


Tevinter exterior


Tevinter interior


Tevinter road

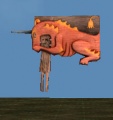
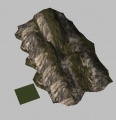
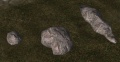
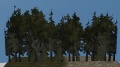
Vista objects
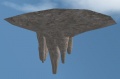
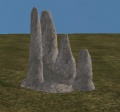
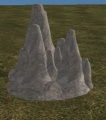
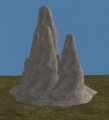
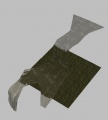
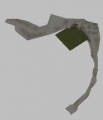
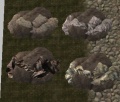
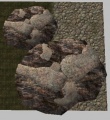
These objects are intended to be put far outside the walkable area of an exterior level to act as distant "horizon" objects.
For scale, the green terrain mesh visible in each shot is a default 64m x 64m size
Vis mtn 01 0
Vst cliff 01 1
Vst cliff 02 1
Vst frostbacks 01 1

Vst frostbacks 02 1
Vst frostbacks 03 1


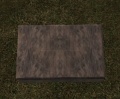
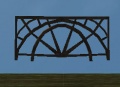
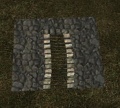
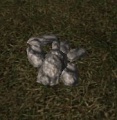
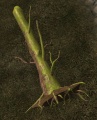
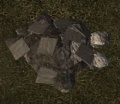
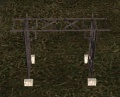
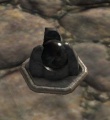
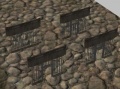
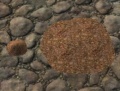
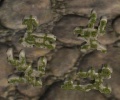
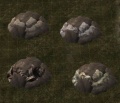
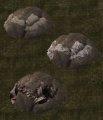
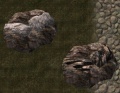
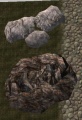
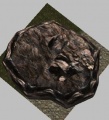
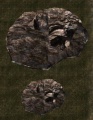
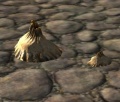
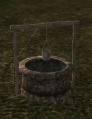
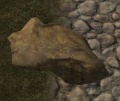
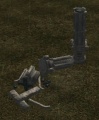
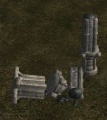
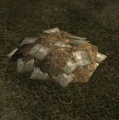
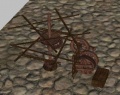
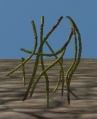
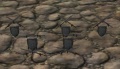
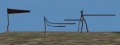
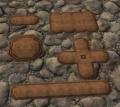
Environmental Props
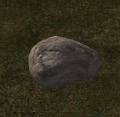
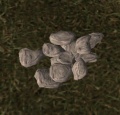
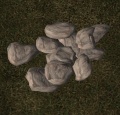
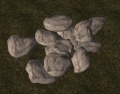
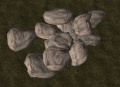
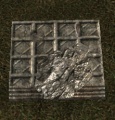
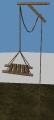
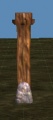
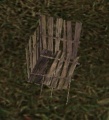
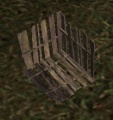
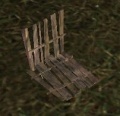
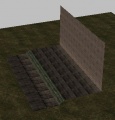
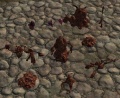
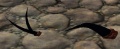
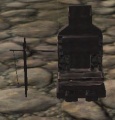
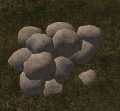
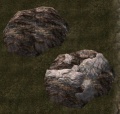
The following images are environmental props from the 'prp' subsection of 'models'. Props are models that can be placed in your levels to dress them up. They are not interactive (as in they cannot have inventory or be 'used' in any way.) If the module maker requires items to be placed in the module that can be interacted with they must use 'Placeables' rather than 'Props' The images below are by no means all of the props, just some of the large environmental ones. There is a large variety of props so you are encouraged to go through the whole list of prop models to enhance the look of your level. Also the images below are not to scale they are merely intended so that the module maker can quickly scan them to see if any of them catch his or her fancy.
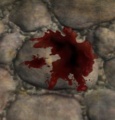
prp blood05 0
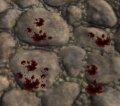
prp bloodstains 0
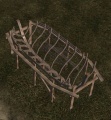
prp boat making 0
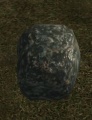
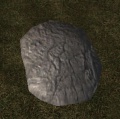
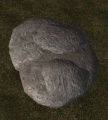
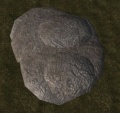
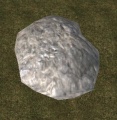
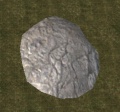
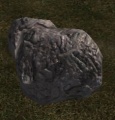
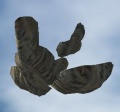
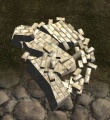
prp boulder01 0
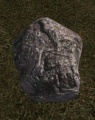
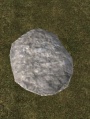
prp boulder03b 0
prp boulder05b 0
prp boulder05c 0
prp boulder10b 0
prp bridge 0
prp bridge 1
prp carvtr1,3,4 0
prp caverocks01to04 0
prp cliffb 0
prp dalishtent01 0
prp dalishtent04 0
prp deadtree 0
prp dirt 0
prp dni arch01 0
prp dni archc01 0

prp dni archd01 0
prp dni pillar01 0
prp dni pillar02 0
prp dni plug01 0
prp dni plug02 0
prp dni plug03 0
prp dni plug04 0
prp dni support01 0
prp dni wall01 0
prp dni wall02 0
prp drkspstuf 01 0
prp drkspstuf 0203 0
prp drkspstuf 0405 0

prp drkspstuf 06 0
prp drkspstuf 07 0
prp drkspstuf 0809 0
prp drkspstuf 1011 0
prp dstotem 01 0
prp dstotem 02 0
prp dstotem 03 0
prp dummystraw 01 0
prp dwcitydoor 0
prp dwf obelisk1,2,3 0
prp dwiarch 01 0
prp dwmrktdiv 0
prp dwmrktfr01 0
prp dwpaint01&02 0
prp dwrock01 0
prp dwslab01&02 0
prp dwstat01 0
prp eagle 01 0
prp eggshels01 0
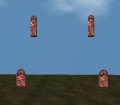
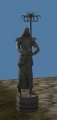
prp elfstatue01to04 0
prp fadportal01 0
prp fci window 02

prp fcihold 02
prp fence01 0
prp ferldr 02 0
prp fern01to08 0
prp fertrsrepile 0
prp fie rock1 0
prp fie rock1l 0

prp fie rock2 0
prp fie rock2l 0
prp fie rock3 0
prp fie rock3l 0
prp fie rock4 0
prp fie rock5 0
prp fie rock6 0
prp fie rock7 0

prp fie rock8 0
prp fie rock9 0
prp filthpile 0
prp fire01to03 0

prp fireplace1 0
prp flakes01to03 0
prp fleshpod01to11 0
prp flesthorn01to02 0
prp forge01 0
prp forgesmall01&02 0
prp fti window 01
prp furdoor0
prp gmage01 0

prp haybale01 0
prp haystack01 0
prp hermet0 0
prp icicle01&02 0
prp icicle03&04 0
prp icicle05 0
prp icicle06&07 0
prp jail01to04 0
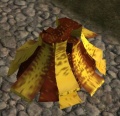
prp leafpile&02 0

prp lgnartfact09to19 0
prp lgtnking 01 0

prp logginpile 0
prp longweb 01 0
prp lrglogs 0
prp magicrock0to04 0
prp markettent01 0
prp mnstrstat2 0

prp monsterstatue 0
prp paragon01to05 0
prp poolwater 0
prp portcullis01 0
prp rcktopiary 01to04 0
prp reliquary 0
prp rockfloor01,b,c,d 0
prp rockfloor02,b,c 0
prp rockfloor03,b,c,d 0
prp rockpile 01 0
prp rockwall01,b 0
prp rockwall02,03 0
prp rockwall04b,04c 0
prp rockwall05b,05c 0
prp rockwall08c 0
prp rockwall09c,10c 0
prp root01,02,03 0
prp root04,05,06 0
prp roots,b 0
prp rtplub01 0
prp rtplub02 0
prp rubble,01 0
prp rubble01,02 0
prp scaffold1,2,3 0
prp sctdr02frm 0
prp shieldstatue01 0
prp smlogs 0
prp smrock01to04 0
prp snow01to09 0
prp snowp01to05 0
prp spiritapp 0
prp spkewll 0
prp sprtpil 0
prp stage,2 0
prp stagestair,2,3 0
prp stalactite01 0
prp stalactite03 0
prp stalactite04 0

prp stalactite05 0

prp stalagmite01to04 0
prp stalagmite05to08 0
prp stalagpillar05 0
prp stalagrock01 0
prp stalagrock02 0
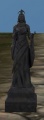
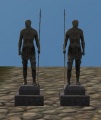
prp statandraste 0
prp statmstr02,04,05 0
prp statuferel 01,02 0
prp steamv02,03 0
prp stnwell 0
prp stonea 0
prp stonea,b,c,d 0
prp sulpol01to04 0
prp sulvent01to03 0
prp tentbeserk 01 0
prp tentcamping 01 0
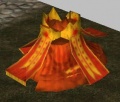
prp tentchantry 01 0
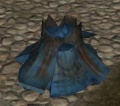
prp tentduncan 01 0
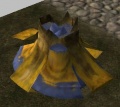
prp tentking 01 0
prp tentloghain 01 0
prp tentmage 01 0
prp tentnoble 01 0
prp tevstalrg1 01,02
prp tevstau01,02,03 0
prp torturewrack 0
prp trashpile01 0,01
prp treea.b.c 01 0
prp treeline1 0

prp treewall water 0
prp tti bsupport01 0
prp tti bsupport02 0
prp tti dirto 0
prp tti magestat01 0
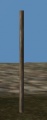
prp tti pole02 0
prp tti rub08,09,11 0
prp tti rubptc01 0
prp tti twreagle02 0
prp tti wallarchbar 0

prp tti windowhigh1
prp turbine 01 0
prp vines 0
prp wall02b 0

prp wall03 0
prp wall04 0
prp wall04b 0
prp wall05 0
prp wall05b 0
prp wallarchiron 0
prp wallcarv 01to04 0
prp walldiv01 0
prp walllyrium01 0

prp walllyrium02 0
prp walllyrium03 0
prp walllyrium04 0
prp walllyrium05 0
prp watchtower 01 0
prp wndobtmdim 01
prp wndobtmdrk 01
prp wndobtmdrk 02
prp wndotopdim 01
prp woodbrk1 0
prp wooden buoy 0
prp woodfnc 01 0
prp woodgt 01 0
prp woodledge 0
prp woodledge 02 0
prp woodlift 0
prp woodpil1 0
prp woodplank01to03 0
prp woodruble01 0
prp wpole01,02
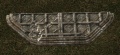
prp wreckboat 01


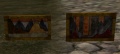
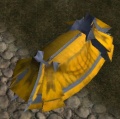
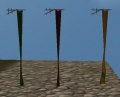
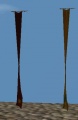
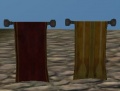
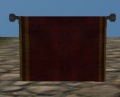
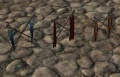
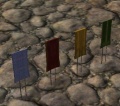
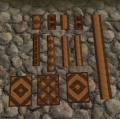
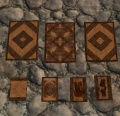
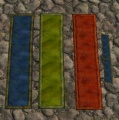
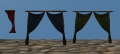
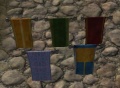
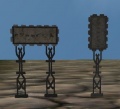
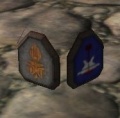
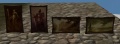
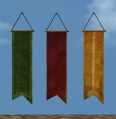
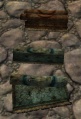
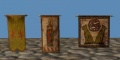
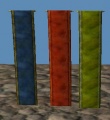
Banners,Flags,Standards,Signs,Tapestry,Wall Hangings,Rugs,Carpets
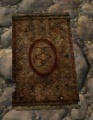
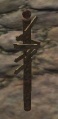
The images below are all 'Props (prp)' which are found under the 'Models' in the palette window. The images are not to scale but are intended to show what the prop looks like. Props are not interactive and are used to dress up levels. If the module maker requires interactive items in their module level they must use 'placeables' rather than 'props'
prp bannergreen 01 0
prp bannerred 01 0
prp banneryellow 01 0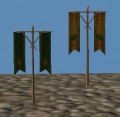
prp bannergreen 03 0
prp banneryellow 03 0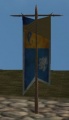
prp bannerlarge 0
prp bannerred 04 0
prp banneryellow 04 0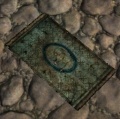
prp bluecarpet 0
prp bnner02,3-0
prp bnner02b 0
prp bttll stnd01,3,4 0
prp bttll stnd05,6,7,8 0

prp carpet1to2cl 0
prp carpet1to3b 0
prp carpet3to4c 0
prp carpetb,g,r l 0
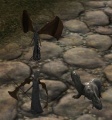
prp crssd swrd 1to02 0
prp curt02,05,08 0
prp ds banner 01,02,03 0
prp dwfbanr1to6 0
prp dwfrug1to5 0
prp dwfsign01,02 0
prp dwhrld01

prp dwpaint01,02 0
prp dwsign01to06 0
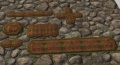
prp elrug1to6 0
prp ferpaint01to04 0
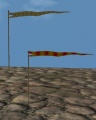
prp flagking&chantry01 0
prp hbannerg,r,y 01 0
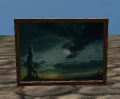
prp painting 01 0
prp redcarpet 0
prp roadsin1 0
prp rollcarpet01to03 0
prp strawmat 0

prp wallhang01to06 0
prp wallhang07to09 0
prp wallhangf01to03 0


