User:Talonius/Sandbox
Contents
Creating a Small Adventure Step by Step
- Step #1: Install the Toolset
- Step #2: Create a Module
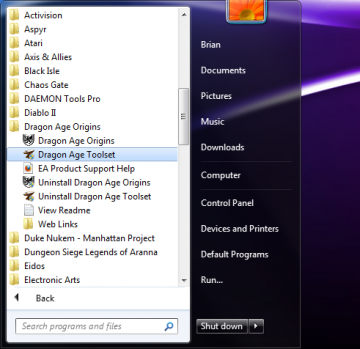
Starting the Toolkit
Find the Start Menu entry for the toolkit and click it. Give the toolkit some time to start up. As a benchmark, it takes approximately 12 seconds for the toolkit to start on my AMD Phenom 9850 with 4GB of RAM with a Windows Experience score 7.2.
Terminology
Learning something new is difficult. Concise terminology is required to give direction, but the terminology is usually somewhat recursive in definition. The following are some definitions that will help you navigate the remainder of this document.
- Module
- A module is the overarching container in which content is housed. It is the parent of all other content. The best comparison to the Dragon Age module are Dungeons and Dragons modules. Each module in D&D was a self contained adventure, complete with background, NPCs, maps, encounters, and any special rules which were to be in effect during the adventure.
- Area
- An area in a module is a self contained subset of the module, limited in size and/or scope. Areas are used to break the adventure into pieces, and are where the characters interact with the game. An area requires a level layout before it can be defined; see below. Items placed in an area are generally interactive, examinable, or dynamic in nature.
- Level
- A level defines the underlying static, immovable, non interactive portion of an area - structure and appearance. The level determines where PCs and NPCs can move (pathfinding) and lighting (ambient and otherwise). A level layout is required in order to define an area. A level can be created in one of two forms: terrain and room.
- Room Level
- TODO: Define
- Terrain Level
- TODO: Define
Create A Room Level
As mentioned above a level is the underlying structure to an area. For our first level we're going to start with a room level.
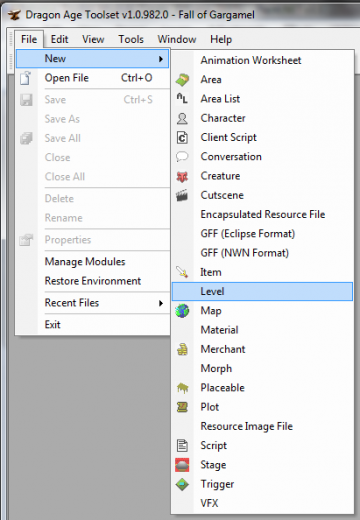
Click File, then New, then Level.
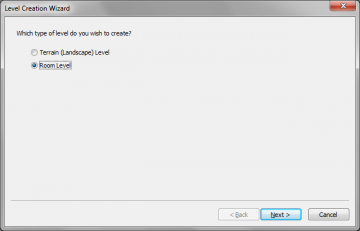
You'll find yourself in the Level Creation Wizard. The first screen prompts you to create a terrain, or exterior level, or a room (interior) level. We're going to walk through the creation of a room level first, so select Room Level and click Next.
If we were creating a terrain level there would be a number of options presented to us; the room level creation is much simpler.
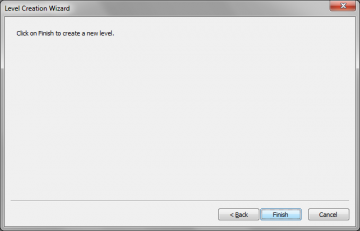
Click Finish to create the room level.
A Tour of the Toolset Interface
The sheer number of icons and options on the toolset can be intimidating. We're going to highlight the important areas of the interface to help you familiarize yourself with the toolset.
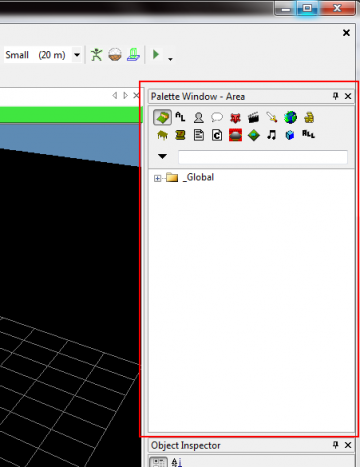
The first section to learn about is the Palette Window. By default this is located in the upper right hand portion of the toolset screen. This window is used extensively during the creation of a module.
Two things to note: first, in the upper left corner of the Palette Window are two icons. The first is a push pin; the second is an X.
The push pin collapses the window into the sidebar, providing a larger workspace for any remaining open windows. To reopen the window simply click on the window title in the sidebar. You can then keep the window open by hitting the push pin icon again.
The X closes the window. If you accidentally close either window they can be opened again from the View, Palette selection and the View, Other Windows, Object Inspector for the Palette Window and Object Inspector windows respectively.
Both of these icons can be found with nearly every window within the toolset.
Palette Window
