Curve editor/ru
| Cutscene topics |
|---|
When crafting a cutscene many object properties need to be continuously and smoothly varied over the course of the scene, rather than simply being discrete events or on/off characteristics. The curve editor allows the values of these properties to be changed over time with as much fine control as needed.
To make the curve editor visible, click the curve editor button in the toolbar (button #9 in the toolbar legend below) and select the object or specific keyed tracks containing the curves you'd like to edit.
Contents
Keys
Keys are points added to the position, orientation, and other similar value-based tracks that various objects have.
| ⊟ | General | |
| Tangent | The tangent for this key. The tangent affects how the bezier control points behave. Can be broken, continuous, smooth, or auto. | |
| Time | The point in time the key is located at. | |
| Transition Out | The type of transition that follows from this key to the next key after it. Can be Bexier, Linear, or Step. | |
| Value | The value of the key. |
Curve types and tangents
When you select a key it appears in the object inspector. You can set the style of the curve here by changing the "transition out" property of the key point, which determines the shape of the curve from the selected point to the point following it. If you select multiple points (either by control-clicking or by dragging a selection box over them) you can modify the type of curve for all of them at once.
The default curve type depends on the curve mode, selected in the toolbar (button #18). When curve mode is enabled the default is a bezier curve, when it's not enabled the default is a stepped curve.
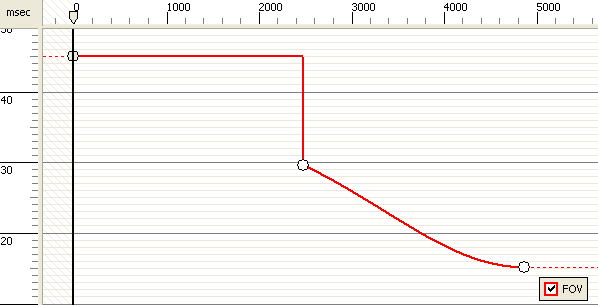
A "step" transition causes the curve to suddenly jump from the old value to the new value at the next key.
In the timeline track this is represented with square keys:
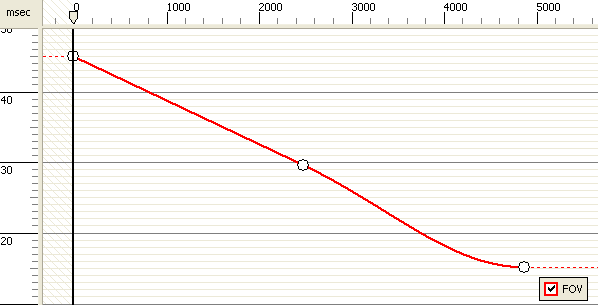
A "linear" transition causes the curve to change from the old value to the new value at a constant rate:
In the timeline track this is represented with triangular keys:
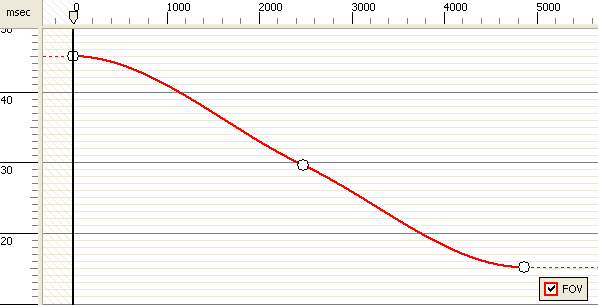
By default when you use bezier curves the behavior of the tangents at each key is set to "auto".
In the timeline this is represented with rounded keys:
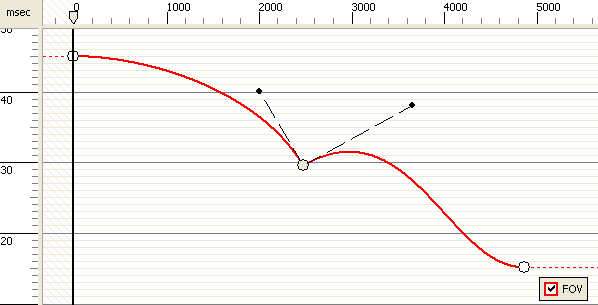
Setting a key's tangent to any other setting will cause the Bezier control points to appear. The details of how you can modify these control points depends on the tangent type.
When you set a bezier key to a non-auto tangent the indicator on the timeline switches to an "inverted" curve, like so:
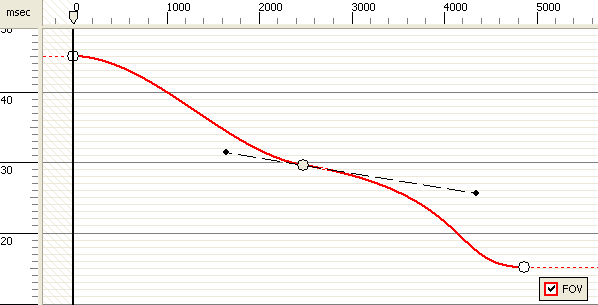
A "broken" tangent allows you to move the two control points around freely:
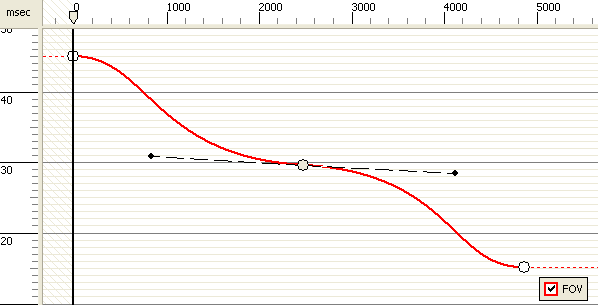
A "continuous" tangent forces the two control points to be colinear, but they can have different weights:
A "smooth" tangent forces the control points to be colinear and to have the same weight:
Adding keys
The key nodes of the curve are represented by circles. They can be dragged back and forth to change their position in the timeline. They can also be dragged up and down which changes their value.
Another way to change a node’s time or value is to select it and adjust the Time or Value field in the Object Inspector.
New nodes can be added to any curve. Move the timeline marker to the point where the node is to be added, right-click anywhere in the curve editor and select the "Add Key" command appropriate for this curve (eg, "Add FOV Key" for a FOV curve).
Value Axis
The vertical axis on the left of the curve editor indicates the values of the nodes. The scale will depend on the specific unit that the curve values represent. For example, the value scale for an orientation curve is in degrees, and a position curve is in meters.
Legend
The legend will show what types each curve is. There is also a checkbox — if the checkbox is cleared the curve will be hidden from view. This is very useful for orientation curves where two or three curves may be overlapping. Hiding one or two or them can allow better access to the curve that needs to be adjusted.
Curve Types
Orientation Curves
Orientation curves are actually three different curves — one curve each for Yaw, Pitch, and Roll. When an orientation key is created three nodes will appear for it in the curve editor.
Position Curves
As with orientation curves, a position curve has three component curves - one each for the object's X, Y and Z coordinates.
The speed with which an object moves from point to point can be seen in the slope of the curve between those points. Fast-moving objects have steep slopes, slow-moving ones have shallow slopes.
Other curves
Some types of objects can have other special curves defined for them.
The following special curves are defined for the following objects:
- Light objects
- Color
- Red
- Green
- Blue
- Radius
- Intensity
- Color
- Sound object events:
- SoundParam1
- SoundParam2
- SoundParam3
- SoundParam4
- SoundParam5
(These are custom-defined parameters that can be created for any given sound in FMOD, and if they're defined their names will replace these. If they're not defined, changing the "SoundParam" values has no effect.)
- Animation actions
- Animation weight
- Shake (Orientation) actions
- YawStrength
- PitchStrength
- RollStrength
- Shake (Position) actions
- XStrength
- YStrength
- ZStrength
- Bloom effects
- Brightness
- Contrast
- Glow intensity
- Horizontal blur width
- Vertical blur width
- Depth of Field effects
- Far fade
- Focal radius
- Focus distance
- Max blur
- Near fade
- Weight blur
- HSV matrix effects
- Brightness
- Contrast
- Hue
- Saturation
- Motion blur effects
- Blend
- Simple Depth of Field effects
- Scene blur
- Weight blur
- Focal blend
- Focal length
- Focus
- Fstop
- Max blend
- Sound objects can have up to 5 custom parameters established when they're created in FMOD, all five can be set using the curve editor.

