VFX Tutorial
VFX Tutorial #1 version 1 – The Basics
This tutorial is to get you started in creating your own visual effects to be used in the DA toolset. Tutorial #1 will cover the basics of creating, editing, and implementing the visual effect.
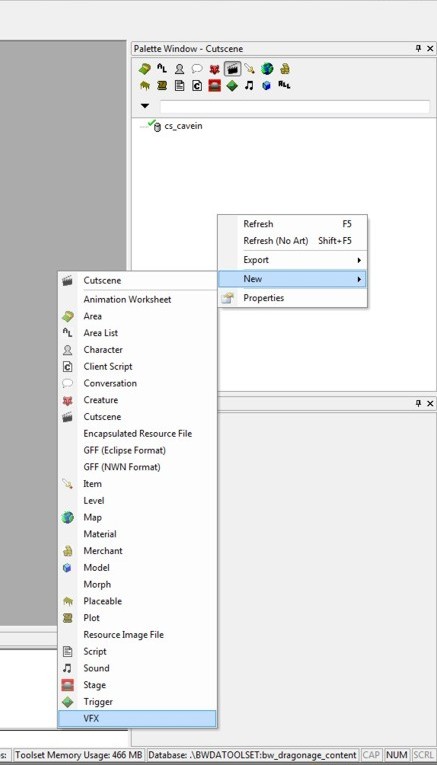
To create a new VFX, right click on the palette window and select “NEW > VFX”
The VFX Editor will open up showing a square grid and a “Select VFX” window in the middle. For this tutorial we will be doing a Placeable effect, so select “Placeable” and click “OK”.
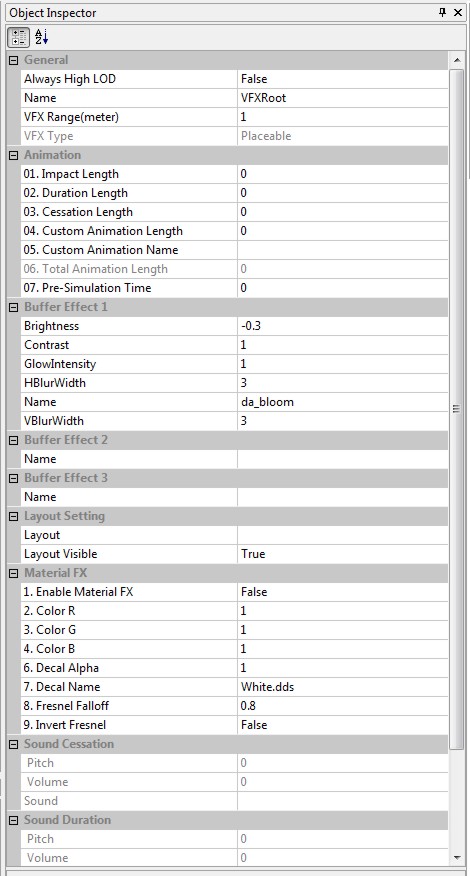
On the top left, you should see a little globe called “VFXRoot” and in the Object Inspector you should see the properties of VFXRoot. At this point, save your work by selecting “File > Save As” or clicking the Save Icon in the upper left. You will be prompted for a file name. I like to keep all of my VFX files in one place so in My Documents/Bioware/Dragon Age folder I created a VFX folder to save my files.
For this tutorial we will be creating a Bon Fire type of effect and to stay with Dragon Age naming convention, we will use a 3 letter prefix, underscore, and then the file name. Name the file “fxp_bonfire_jp” The “fxp” is for “Visual Effect Placeable” (all VFX files start with fx*) “bonfire” tells me what the effect is, and the “jp” on the end lets me know that it is my effect and not someone else’s, you can add whatever suffix you want. Click “Save” when done.
You can close the toolset at any time and return to this tutorial. You can open your effect again later by selecting “File > Open” and navigate to and select the file you just saved.

